

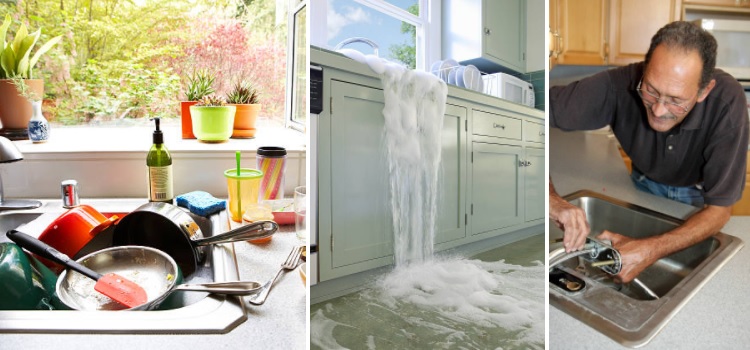
The kitchen sink is one of the most fundamental fragments of your home and an absolute necessity for everyday living. All homeowners rely on it for daily chores, like when preparing food and washing dishes.
Most of you would probably just spray down your sink every once in a while, but how often do you take the time to do a thorough cleaning of your kitchen sink and disposal? The units of your matt kitchens deserve more than just a quick water rinse, so it is essential to know why and how you should clean them properly.

Why You Should Clean Them
Your sink is the one spot where germs, odours, and food scraps build up over time. While most garbage disposals are usually self-cleaning, they also need some extra care from time to time. Just because you can’t see the grime, doesn’t mean it’s not really there.
How to Properly Clean Them
Cleaning the sink with running water a few times a day washes away some particles that are visibly sitting in your sink, but it doesn’t clean off the germs and bacteria. The goal is to sanitise your kitchen sink to get rid it of any harmful organisms.
The Kitchen Sink
These are the materials needed, as well as the essential steps to achieve a thorough cleaning of your kitchen sink:
Tools:
- Soft sponge
- Old toothbrush
Materials Needed:
- Baking soda
- Distilled white vinegar
- Liquid dishwashing soap
Step 1:
Wipe down and rinse out your sink. If you are working with a stainless steel sink, utilise a nylon sponge and a mild soap, or even soft rag instead of other harsh materials. Be aware that bleach, ammonia, or any abrasive cleaners can ruin the finish of your sink. Acidic and salty food can also damage the finish, so it’s necessary to rinse and wipe your sink on a regular basis.
Step 2:
Get your baking soda and sprinkle a handful amount over the whole surface of your sink. Work it into a paste and then rinse it thoroughly.
Step 3:
Soak some paper towels in the vinegar and cover your sink with the soaked paper towels. Let them sit for approximately 20 minutes, and throw them afterwards.
Step 4:
Thoroughly rinse the sink with warm soapy water.
Step 5:
Wipe the faucet, as well as the handles with a mild foamy solution. Utilize the toothbrush to cleanse the hard-to-reach sections. If you see any visible spots lingering, use another paper towel soaked in white vinegar to remove them.
Once that’s done, do at least one last thorough rinse, and dry the sink with a soft rag. Your kitchen sink should now be glistening clean!
The Disposal
After working on the sink, let’s now take a look at how to properly clean your garbage disposal. Remember that the most crucial part of this whole process is your absolute safety; Never take any unnecessary action that may compromise your well-being while cleaning your kitchen.
Materials Needed:
- Ice
- Sea salt
- Baking soda
- Boiling water
- Lemon (or lime)
- Distilled white vinegar
Step 1:
Scatter half cup of baking soda down the disposal. Add 1 cup of vinegar and leave the mixture to bubble. Let the mixture to sit and work its magic for a few moments. After that, boil a kettle of water and pour it off down the drain.
Step 2:
Fill in the drain with approximately two cups of ice. Pour one cup of salt over the ice cubes and run some cold water. Then, turn on the garbage disposal up until the ice dissolves.
The mixture of salt and ice will eventually loosen all the debris and grime from the grinding elements.
Step 3:
Lastly, finish it off by cutting a lemon (or lime) in half. Turn the water on and run the garbage disposal. Thrown in the lemon or lime into the disposal one at a time.
That’s it; you’re done! The fruit will help clean and deodorise your drain in no time.

Conclusion
Every homeowner knows the value of cleaning their matt kitchens by wiping it off, but only few will actually take the necessary steps to eliminate the hidden bacteria.
In general, cleaning your kitchen sink and disposal is a hassle-free process. We recommend that you give these steps a shot.